The safest way to use a YouTube video converter is to convert only content you have the right to save, choose MP4 for video or MP3/AAC for audio, and avoid sites that flood you with fake download buttons. A converter can be useful for offline study, backup of your own uploads, podcast clipping, or moving public-domain material into an editing workflow. The trick is knowing what the tool actually does before you hand it a link.
TLDR: A YouTube video converter takes a video stream and repackages or re-encodes it into a file format such as MP4, MP3, WebM, or WAV. For example, a 12-minute 1080p explainer might become a 120 MB MP4, while the same content as a 128 kbps MP3 may shrink to about 11 MB. Choose MP4 if you want easy playback on phones, laptops, and TVs. Use audio-only formats only when you truly do not need the video.
What a YouTube Video Converter Actually Does
A YouTube converter is not magic. It usually performs three basic jobs: fetching, extracting, and encoding. First, it reads the video URL. Then it locates the available streams, such as video, audio, captions, or thumbnails. Finally, it saves those streams into a file you can download.
Many YouTube videos are stored as separate audio and video tracks. That means the converter may need to merge them. If you choose a different file type, it may also re-encode the content. Re-encoding changes the codec, bitrate, resolution, or container. This can reduce file size, but it may also reduce quality.
The catch is that some converters hide this process behind one giant “Download” button, then surround it with five fake ones. That is where people get burned. A clean converter should show the format, quality, size, and expected output before the download starts.

Containers, Codecs, and Why They Matter
People often say “format” when they mean two different things. A container is the file wrapper, such as MP4, WebM, or MOV. A codec is the compression method inside that wrapper, such as H.264, H.265, VP9, or AV1.
Think of the container as a lunch box and the codec as the food inside. Two MP4 files can behave differently if one uses H.264 and the other uses H.265. The first may play almost anywhere. The second may look better at a smaller size, but older devices may refuse to open it.
Best Video Formats to Choose
- MP4: The safest all-around choice. It works on most phones, browsers, smart TVs, editing apps, and presentation tools. Pick MP4 with H.264 when compatibility matters.
- WebM: Good for web use and smaller files. It often uses VP9 or AV1. Quality can be strong, but some older software may not support it well.
- MOV: Common in Apple and professional editing workflows. It is useful for editors, but not always ideal for sharing with everyone.
- MKV: Flexible and powerful. It can hold multiple audio tracks, subtitles, and high-quality video. Some devices do not play it without extra software.
For most people, MP4 at 720p or 1080p is the sweet spot. It balances clarity, file size, and compatibility. If you are saving a lecture with slides, 1080p helps keep text readable. If it is just a talking head, 720p may be enough.
Best Audio Formats to Choose
- MP3: Best for broad compatibility. It plays almost everywhere. Use 128 kbps for speech and 192 to 320 kbps for music.
- AAC: Often better quality than MP3 at the same bitrate. Great for phones and modern media apps.
- WAV: Uncompressed and large. Best for editing, not casual listening.
- FLAC: Lossless but compressed. Useful for archiving audio, though it cannot restore quality that was never in the source.
Do not convert a low-quality YouTube upload into WAV and expect studio sound. You will only get a large file with the same flaws. Bigger is not always better. If the source audio is compressed, converting it to a lossless format will not rebuild missing detail.
Resolution, Bitrate, and File Size
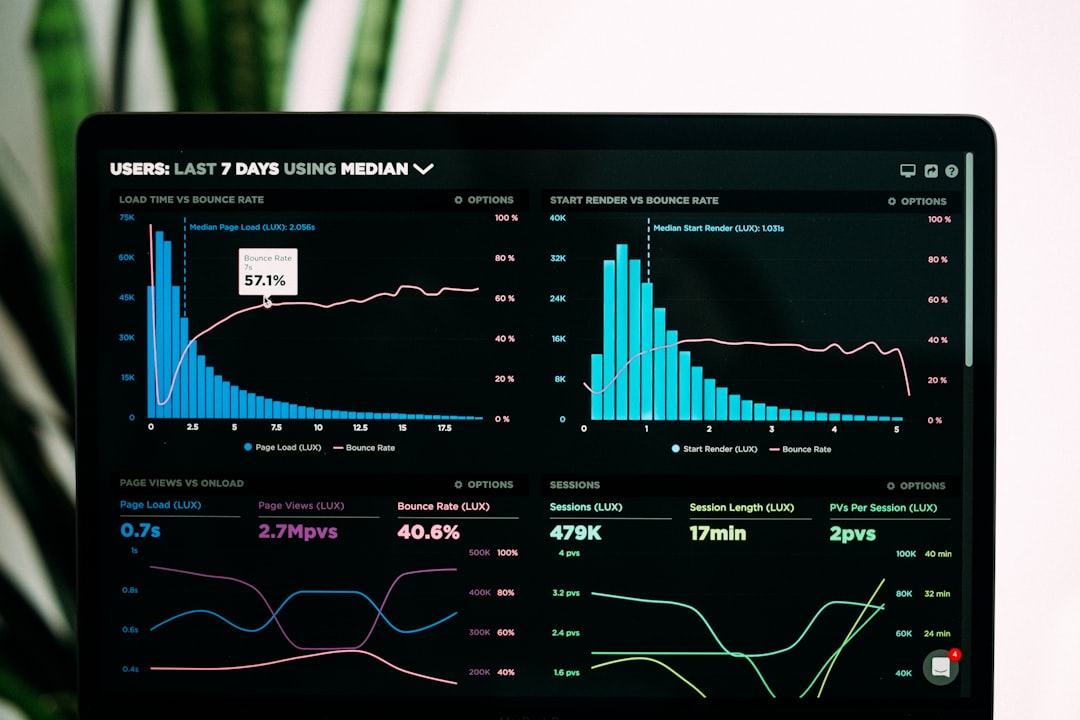
Resolution controls the number of pixels. Bitrate controls how much data is used per second. Both affect quality and size. A 1080p video at a weak bitrate can look blocky. A 720p video at a strong bitrate may look cleaner than expected.
Here is a rough guide:
- 360p: Small files, fine for quick previews or slow connections.
- 720p: Good for lessons, interviews, and general viewing.
- 1080p: Best everyday choice for sharp playback.
- 4K: Great for large screens, but files get huge and conversion takes longer.
Honestly, it feels absurd when a converter takes 40 seconds to process a three-minute clip, then gives you a blurry file anyway. If a tool cannot show quality settings clearly, it is probably not worth your time.

Online Converters vs Desktop Software
Online converters are convenient. You paste a link, choose a format, and download the result. No installation. No setup. They are useful for quick, small jobs.
Desktop software is usually better for larger files, batch conversion, captions, trimming, and privacy. It may also offer more control over codecs and bitrates. If you convert often, a trusted desktop app can save time and reduce risk.
Online tools have clear downsides. Some are stuffed with ads. Some throttle speed. Some limit video length. Some ask for browser permissions they do not need. Expect to waste time on pop-ups if you pick a random converter from search results.
Safety Checks Before Using a Converter
- Check the URL: Avoid copycat sites with strange spelling or extra words.
- Skip tools that demand extensions: A simple conversion should not require a browser add-on.
- Do not install unknown download managers: They often bring bundled junk.
- Watch for fake buttons: Real download buttons usually appear after format selection, not before.
- Scan downloaded files: This matters if the site gives you an EXE, ZIP, or installer instead of a video or audio file.
A normal video download should end in something like .mp4, .webm, .mp3, or .wav. If you expected an MP3 and received an application file, delete it.
Copyright, Permissions, and Fair Use
Before converting any online video, think about rights. You are usually safe converting your own uploads, royalty-free media, public-domain videos, or material where the creator gives download permission. Trouble starts when people save music videos, films, paid lessons, or creator content without permission.
YouTube’s terms also restrict downloading unless the platform provides a download option or the creator allows it. Laws vary by country. Fair use may cover limited cases such as commentary, teaching, research, or criticism, but it is not a free pass. If your use is commercial, public, or redistributed, be extra careful.
Choosing the Right Format by Use Case
- Offline viewing on a phone: MP4, H.264, 720p or 1080p.
- School presentation: MP4, 1080p, with captions if available.
- Podcast-style listening: MP3 at 128 kbps for speech, 192 kbps for better clarity.
- Video editing: MP4 or MOV at the highest practical quality.
- Archiving your own upload: Keep the highest resolution available and avoid repeated re-encoding.
Final Practical Advice
Use the smallest file that still looks or sounds good. Pick MP4 for video unless you have a clear reason not to. Pick MP3 or AAC for audio. Keep original quality when editing. Avoid suspicious sites, surprise installers, and tools that hide basic settings.
A good YouTube video converter should make the job simple, not stressful. It should show clear format choices, finish in a reasonable time, and give you the file you asked for. If it turns one download into a mess of pop-ups, redirects, and mystery buttons, close the tab and use something else.